
Last Updated: November 16, 2026
Quick Summary
Start with the engagement ring, not the band. Its stone shape, setting style and side profile decide which matching wedding band will sit flush against it. Then choose a straight, curved or contoured band, and confirm the metal, finish and fit with a physical mock-up before the metal is committed.
- Measure the engagement ring's height from the finger to the top of the stone.
- Curved and contoured bands sit closer to a raised stone than straight bands.
- Ask for a wax or mock-up fitting before the final metal is cast.
- Match the metal alloy of the engagement ring for the closest colour match.
- Choose channel or bezel settings for daily wear, since pavé claws can snag.
Table of Contents
- Start With Your Engagement Ring: Shape, Setting and Profile
- Choosing a Shaped Wedding Band: Straight, Curved or Contoured
- Curved Wedding Band for Engagement Ring: Fit, Gaps and Clearance
- Wedding Band Metal and Finish: Matching or Contrasting
- Diamonds, Patterns and Engraving: Deciding the Details
- The Custom Wedding Ring Design Process, From Sketch to Setting
- Booking Your Design Consultation at Morgan Banks
- Frequently Asked Questions
Start With Your Engagement Ring: Shape, Setting and Profile
Designing a matching wedding band for a custom ring starts with the engagement ring, not the band. The shape of the stone, the style of its setting and the profile of the ring decide which wedding bands will sit flush against it.
Most couples begin with the metal or the width of the band, but that often leads to a ring that looks fine on its own and awkward when stacked. Looking at the engagement ring first keeps the design grounded in what the wearer already has.
Assessing the shape and setting
Start by looking closely at the engagement ring's setting. A claw setting with raised prongs usually leaves a gap underneath the stone, so the wedding band needs a cut-out or a lower profile to nest against it.
Note the stone's shape too. Pear, marquise and oval stones often have points or tapered ends that sit lower on the finger. A round or cushion stone with a high crown can look better with a band that has a small dip or curve to follow the shoulders.
Reading the side profile
Hold the engagement ring side on and look at how far it stands above the finger. This is the profile that the wedding band must work with. A tall engagement ring needs a curved or contoured band, while a low, flat ring can usually take a straight band without a visible gap.
Photograph the ring from the side with a ruler beside it. The image gives your jeweller a reference point and saves rounds of guesswork.
Choosing a Shaped Wedding Band: Straight, Curved or Contoured
Once you know the engagement ring's profile, the choice is usually between three band shapes. A straight band is the simplest and suits low, flat settings. A curved band is cut to follow the finger's curve and sits close to a raised stone. A contoured band has a shaped inner edge that dips around the engagement ring's shoulders and setting.
Curved and contoured bands are the most common choice for custom rings, because they allow the two rings to sit as one unit. The trade-off is cost and fit: a shaped band has to be made to match your engagement ring precisely, and it cannot be swapped easily if the engagement ring changes.
Ask your jeweller to test-fit the band against the engagement ring before the metal is finished. A paper or wax mock-up can help you see the clearance before any gold or platinum is committed.
Curved Wedding Band for Engagement Ring: Fit, Gaps and Clearance
A curved wedding band is often the most practical answer for a raised solitaire or a stone with tall shoulders. It follows the engagement ring's line and removes the small gap that a straight band would leave.
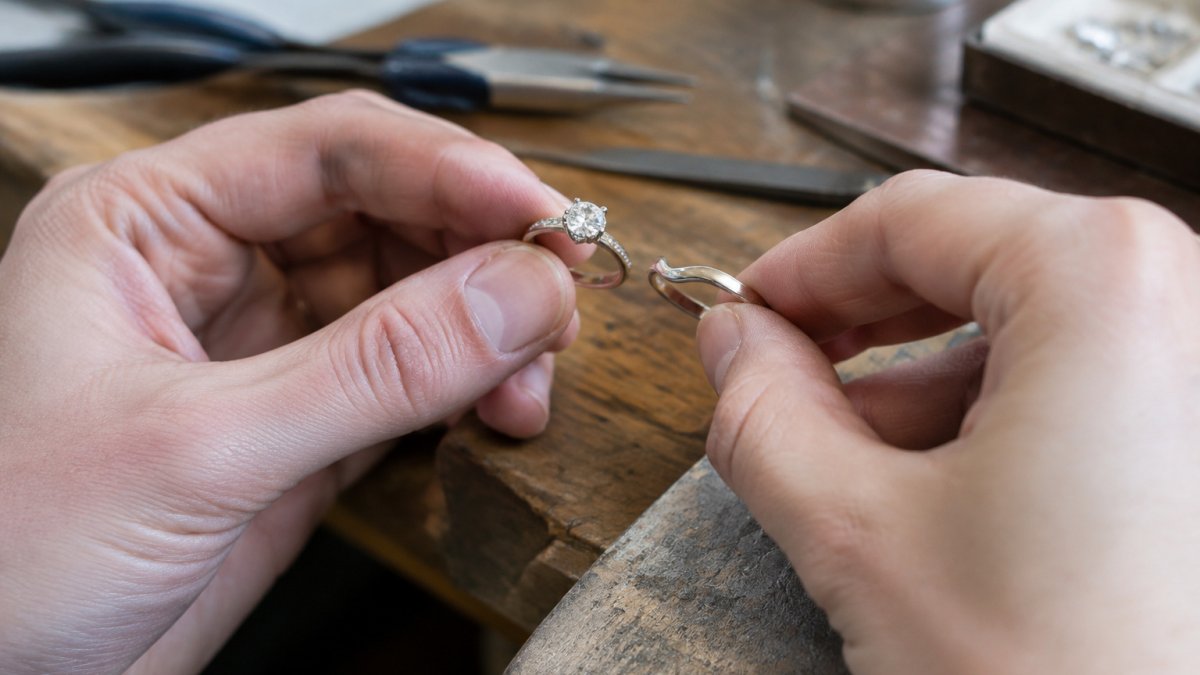
Aim for a close fit where the two rings touch, but make sure the band does not press on the stone or dig into the setting. Some visible gap is normal and often desirable, because it keeps the stone protected during daily wear.
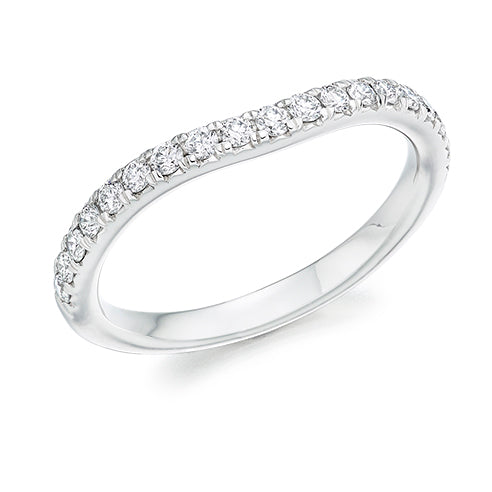
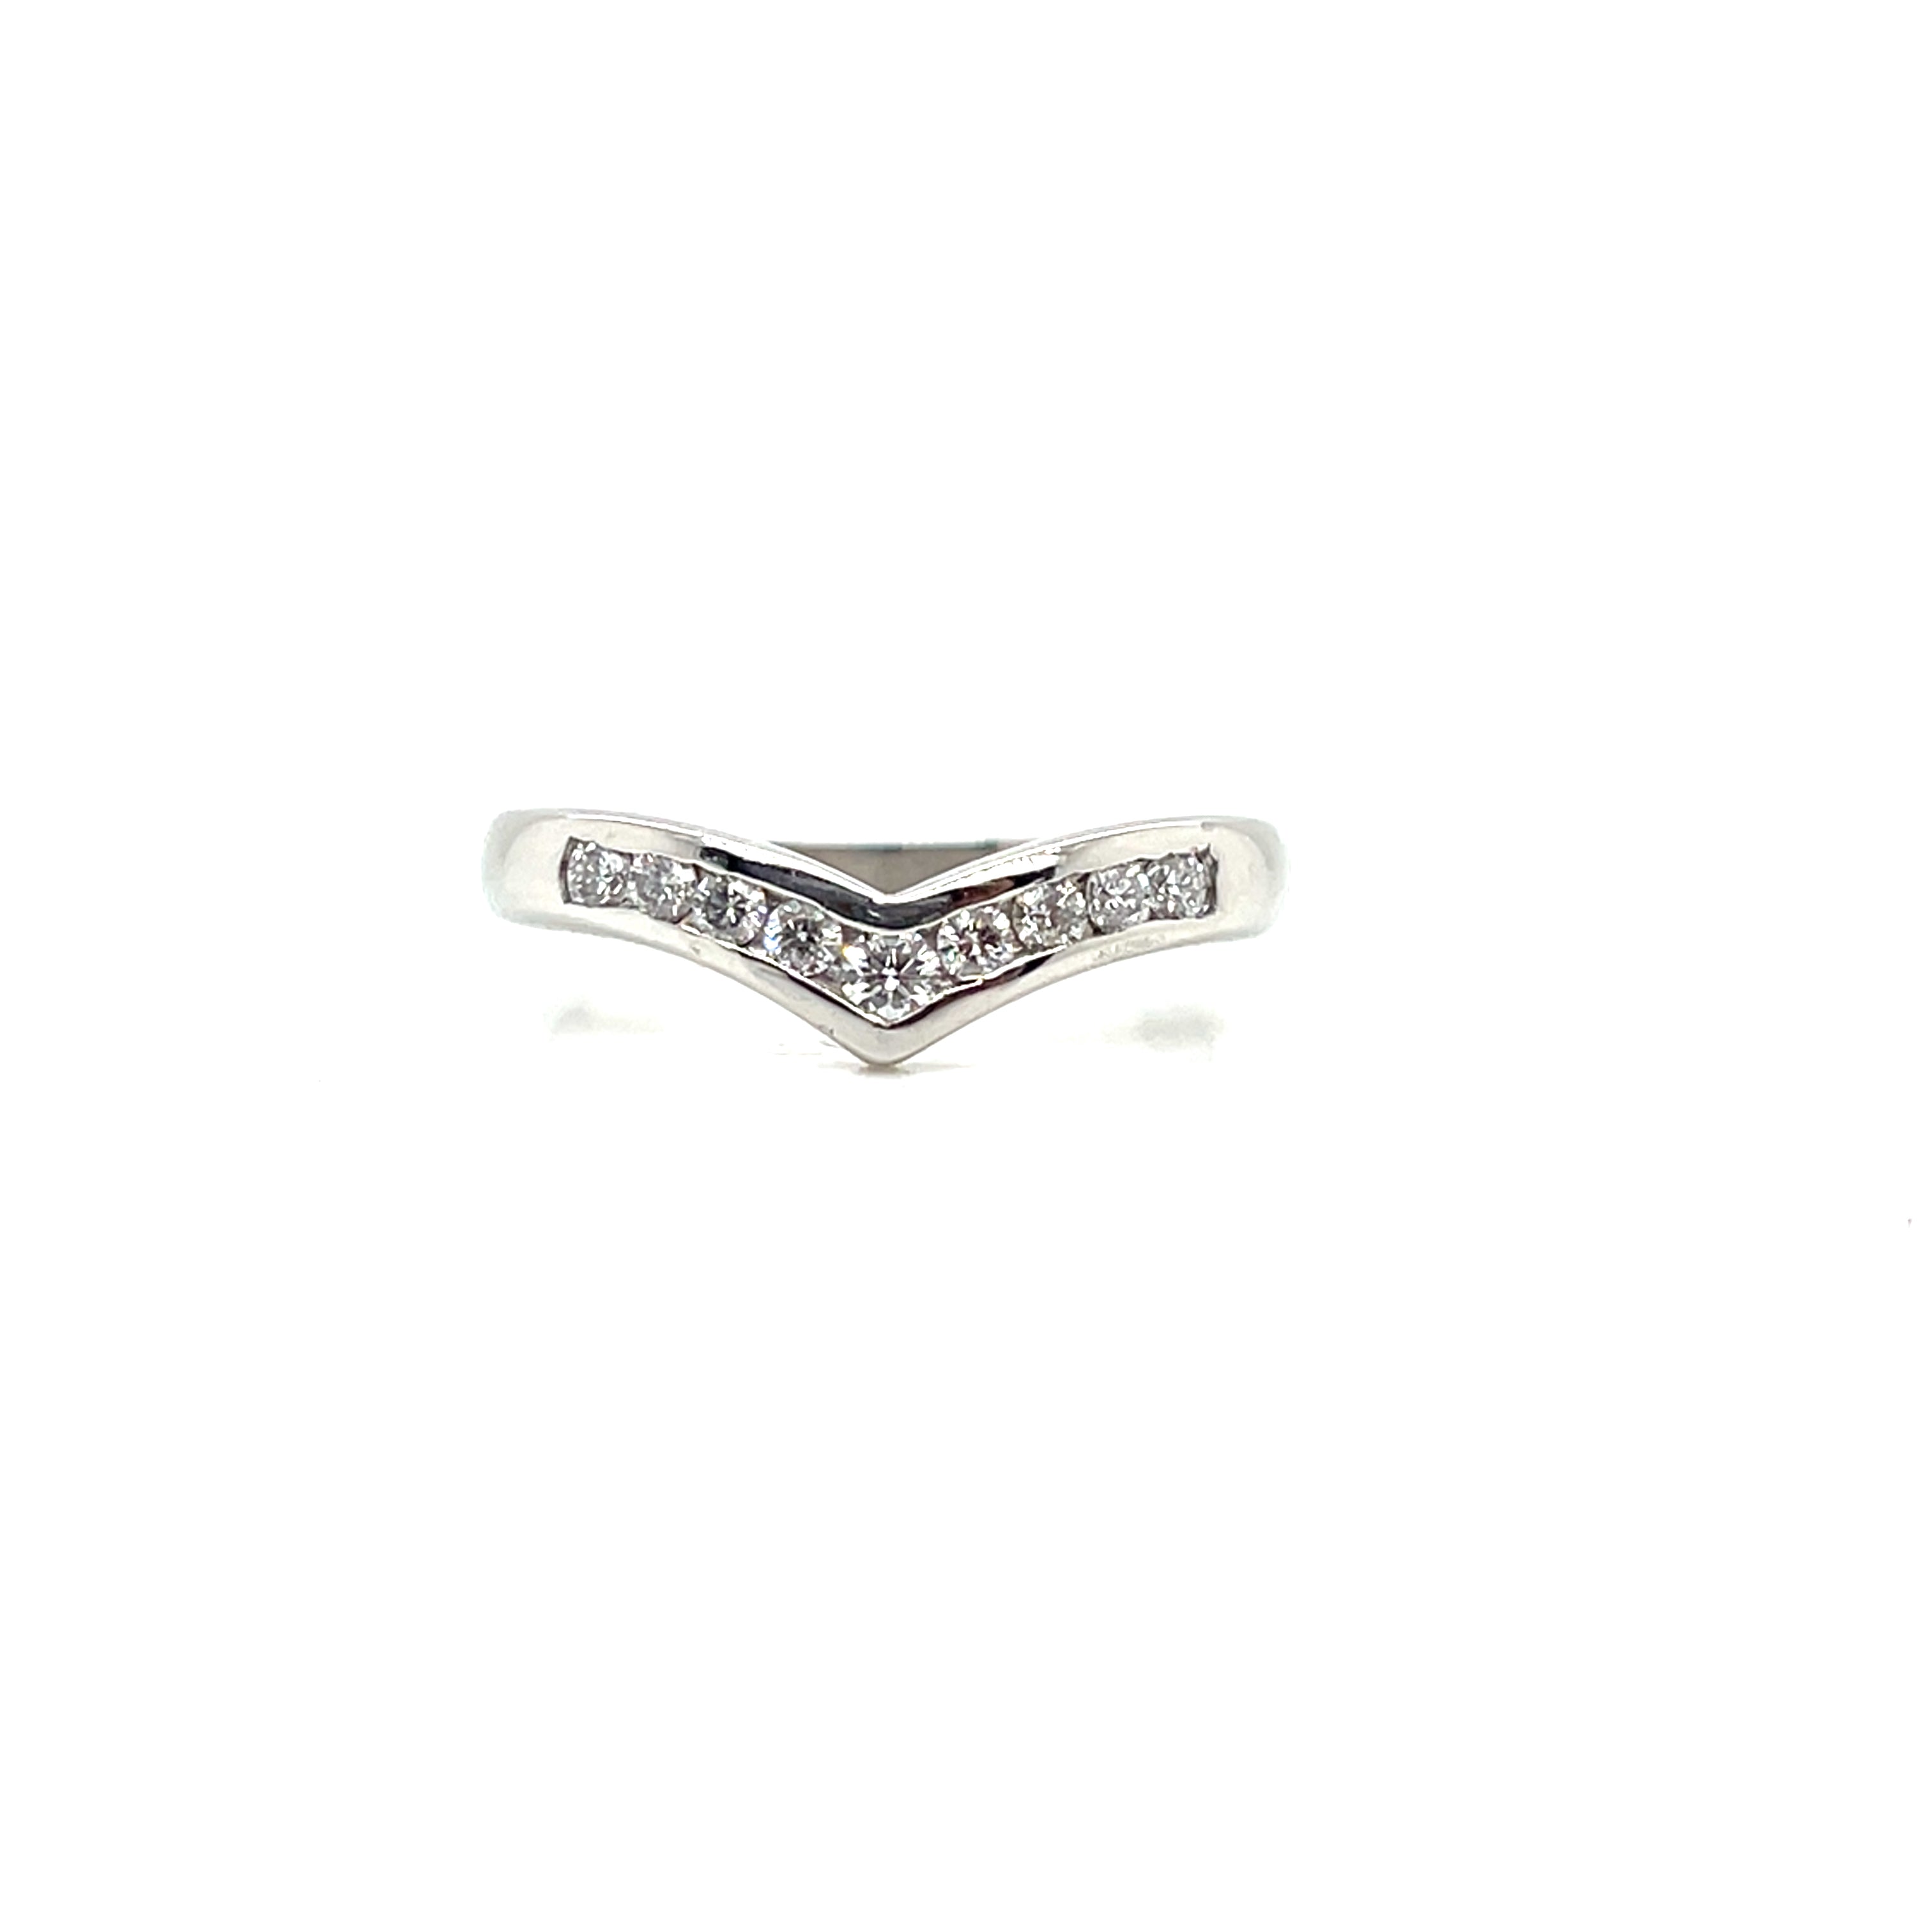
Our 18ct White Gold Curved Wedding Ring .35ct is a curved band with a micro-claw setting and a 2.10mm band width. For a platinum option, our Platinum Diamond Eternity 1/3 Set Curved .30ct Band is a curved design with round brilliant stones.
A measurement and fit checklist
Use this checklist before you approve a design:
- Measure the engagement ring's height from the finger to the top of the stone
- Note the width of the wedding band you want, in millimetres
- Confirm the ring size for both rings, measured on the same finger
- Check whether the engagement ring's setting sits high, medium or low
- Decide whether you want a close fit or a deliberate gap
- Ask for a wax or mock-up fitting before the final metal is cast
- Confirm how the rings will be worn together on the same finger
- Note any planned changes, such as resizing or a future stone upgrade
Work through these points with your jeweller. Most fit problems come from skipping one of them.
Wedding Band Metal and Finish: Matching or Contrasting
Metal choice shapes how the two rings look together. Matching the metals creates a unified look, while contrasting them can add interest. Platinum and white gold pair well with white diamonds, and yellow or rose gold can warm a ring set with coloured stones.
Platinum is denser and more durable than gold, and it keeps its colour over time. White gold needs occasional rhodium plating to stay bright, so factor in that upkeep.
Diamonds, Patterns and Engraving: Deciding the Details
The details decide how the band wears, not just how it looks. A band that sits beautifully beside the engagement ring on day one can snag, loosen or need re-finishing within a year if the setting style and surface finish are chosen for appearance alone. Compare the options on wearability first, then on looks.
Setting styles and daily wear
A plain band is the most durable and the easiest to resize, and it will not compete with a detailed engagement ring.
A useful rule is to match the protection to the wear pattern. If the band will be worn every day alongside a raised engagement ring, favour settings where the stones sit at or below the band's surface, and ask for the claws to be finished low.
Patterns and surface finishes
Brushed, satin and hammered finishes suit vintage and textured engagement rings and hide fine scratches better than a mirror polish. A high polish shows wear sooner but can be re-finished. Engraving is best kept inside the band, where it does not compete with the engagement ring and is protected from rubbing; outside engraving on a band worn against another ring will soften over time.
Resizing, maintenance and future changes
A plain band can usually be resized by a jeweller within a reasonable range. A full eternity band, stones all the way around, generally cannot be resized without rebuilding, so a half-eternity design is the more practical choice if finger size may change.
Watch out: a diamond-set band whose stones sit proud of the surface can wear against the engagement ring's claws where the two rings touch, so ask your jeweller to check the contact point and set the stones below it where possible.
The Custom Wedding Ring Design Process, From Sketch to Setting
A bespoke band is built in stages, and each stage has a checkpoint where you can still change the design cheaply. Treat the process as a sequence of approvals rather than a single commission, and you avoid the two most common disappointments: a band that will not sit flush and a profile that looked better on screen than on the hand.
Stage 1: Reference gathering and consultation
Bring the engagement ring, not just its measurements. Your jeweller will photograph it from the top, side and three-quarter view, note the setting type and height, and record the finger size on the hand the set will be worn on. Bring reference images of bands you like and, just as usefully, bands you dislike, the second set often narrows the brief faster. Ask at this stage whether the band will be made by CAD or hand-forged, because that decision affects how precisely a contoured inner edge can be cut.
Stage 2: Sketch and profile drawing
The first drawing should show the band's cross-section, its width in millimetres, the depth of any curve or cut-out, and how the inner edge will meet the engagement ring's shoulders. Review it side-on, not just face-on. A profile that looks elegant from above can sit too tall against a low-set stone. This is the cheapest point to change the shape.
Stage 3: CAD render or wax model approval
CAD allows the curve to be adjusted on screen and re-rendered quickly; hand-forging suits traditional profiles and one-off shapes but gives less scope for fine adjustment after the metal is worked. Whichever route is used, ask for a physical wax or resin model and try it against the engagement ring on your finger. Check three things: that the band clears the setting without pressing on it, that the two rings sit at a comfortable angle, and that the band's width looks right beside the engagement ring rather than in isolation.
Stage 4: Metal casting or forging, setting and finishing
Once the model is approved, the band is cast or hand-formed, the stones are set and the surface is finished. Ask whether the final fitting happens before or after setting, stones set close to the engagement ring should be checked against it after setting, because claws and beads add a small amount of height. Confirm the finish (polished, satin, brushed) at this stage, as re-finishing later can soften engraving.
Stage 5: Final fitting and handover
Try the finished band with the engagement ring on the intended finger, not a different one.
Watch out: approving a CAD render without a physical try-on is the most common cause of a band that fits the drawing but not the ring.
Ask for a written timeline with the approval dates built in, so you know when each decision must be made.
The article breaks the bespoke band process into five stages, each with a checkpoint where changes are still cheap.
| Stage | What happens | Checkpoint |
|---|---|---|
| 1. Reference gathering | Bring the engagement ring and photograph it from several angles | Setting type, height and finger size recorded |
| 2. Sketch and profile | Draw cross-section, width in millimetres and curve depth | Review side-on, not just face-on |
| 3. CAD or wax model | Adjust the design, then try a physical model on the finger | Band clears the setting without pressing on it |
| 4. Casting, setting, finishing | Cast or forge the band, set stones and finish the surface | Check stones against the engagement ring after setting |
| 5. Final fitting | Try the finished band on the intended finger | Check for rocking, pinching and metal-to-metal contact |
Booking Your Design Consultation at Morgan Banks
Designing a matching wedding band for a custom ring is much easier when you have the engagement ring in front of you during the process. At Morgan Banks, we can help you plan a bespoke piece, including talking through band shape, metal and finish.
If you are ready to begin, book a bespoke design consultation to see how a made-to-measure band can be planned around your ring. Our team can explain the options and help you choose.
Frequently Asked Questions
How do you design a wedding band to fit a custom engagement ring?
Start by sharing the engagement ring's side profile, setting height and the shape of its shoulders with your jeweller. A band that sits flush needs a profile that follows the engagement ring's curve, while a band that leaves a small gap can work when the setting is high. Ask for a fit check before the final polish, since small adjustments are far easier at that stage than afterwards.
Should a wedding band sit flush against an engagement ring?
It depends on the setting. A flush fit suits a low-set solitaire, because the bands can sit together without a visible gap. A high claw setting usually needs a curved or contoured band that dips away from the stone, so the two rings do not catch on each other. A close fit looks neat and reduces snagging, while a small intentional gap keeps the stone protected. Your jeweller can confirm which option suits your ring before the band is made.
How long does a custom wedding band take to make?
Timescales vary with the design, the metal and how many fit checks are needed, so ask for a timeline at your consultation rather than assuming one. Shaped and curved bands take longer than plain straight bands because the profile must be measured and checked against the engagement ring. Plan ahead, especially if the band needs to be ready for a set date.
